Posts
Posts


Showing posts with label before and after. Show all posts
Showing posts with label before and after. Show all posts
Wednesday, January 9, 2013
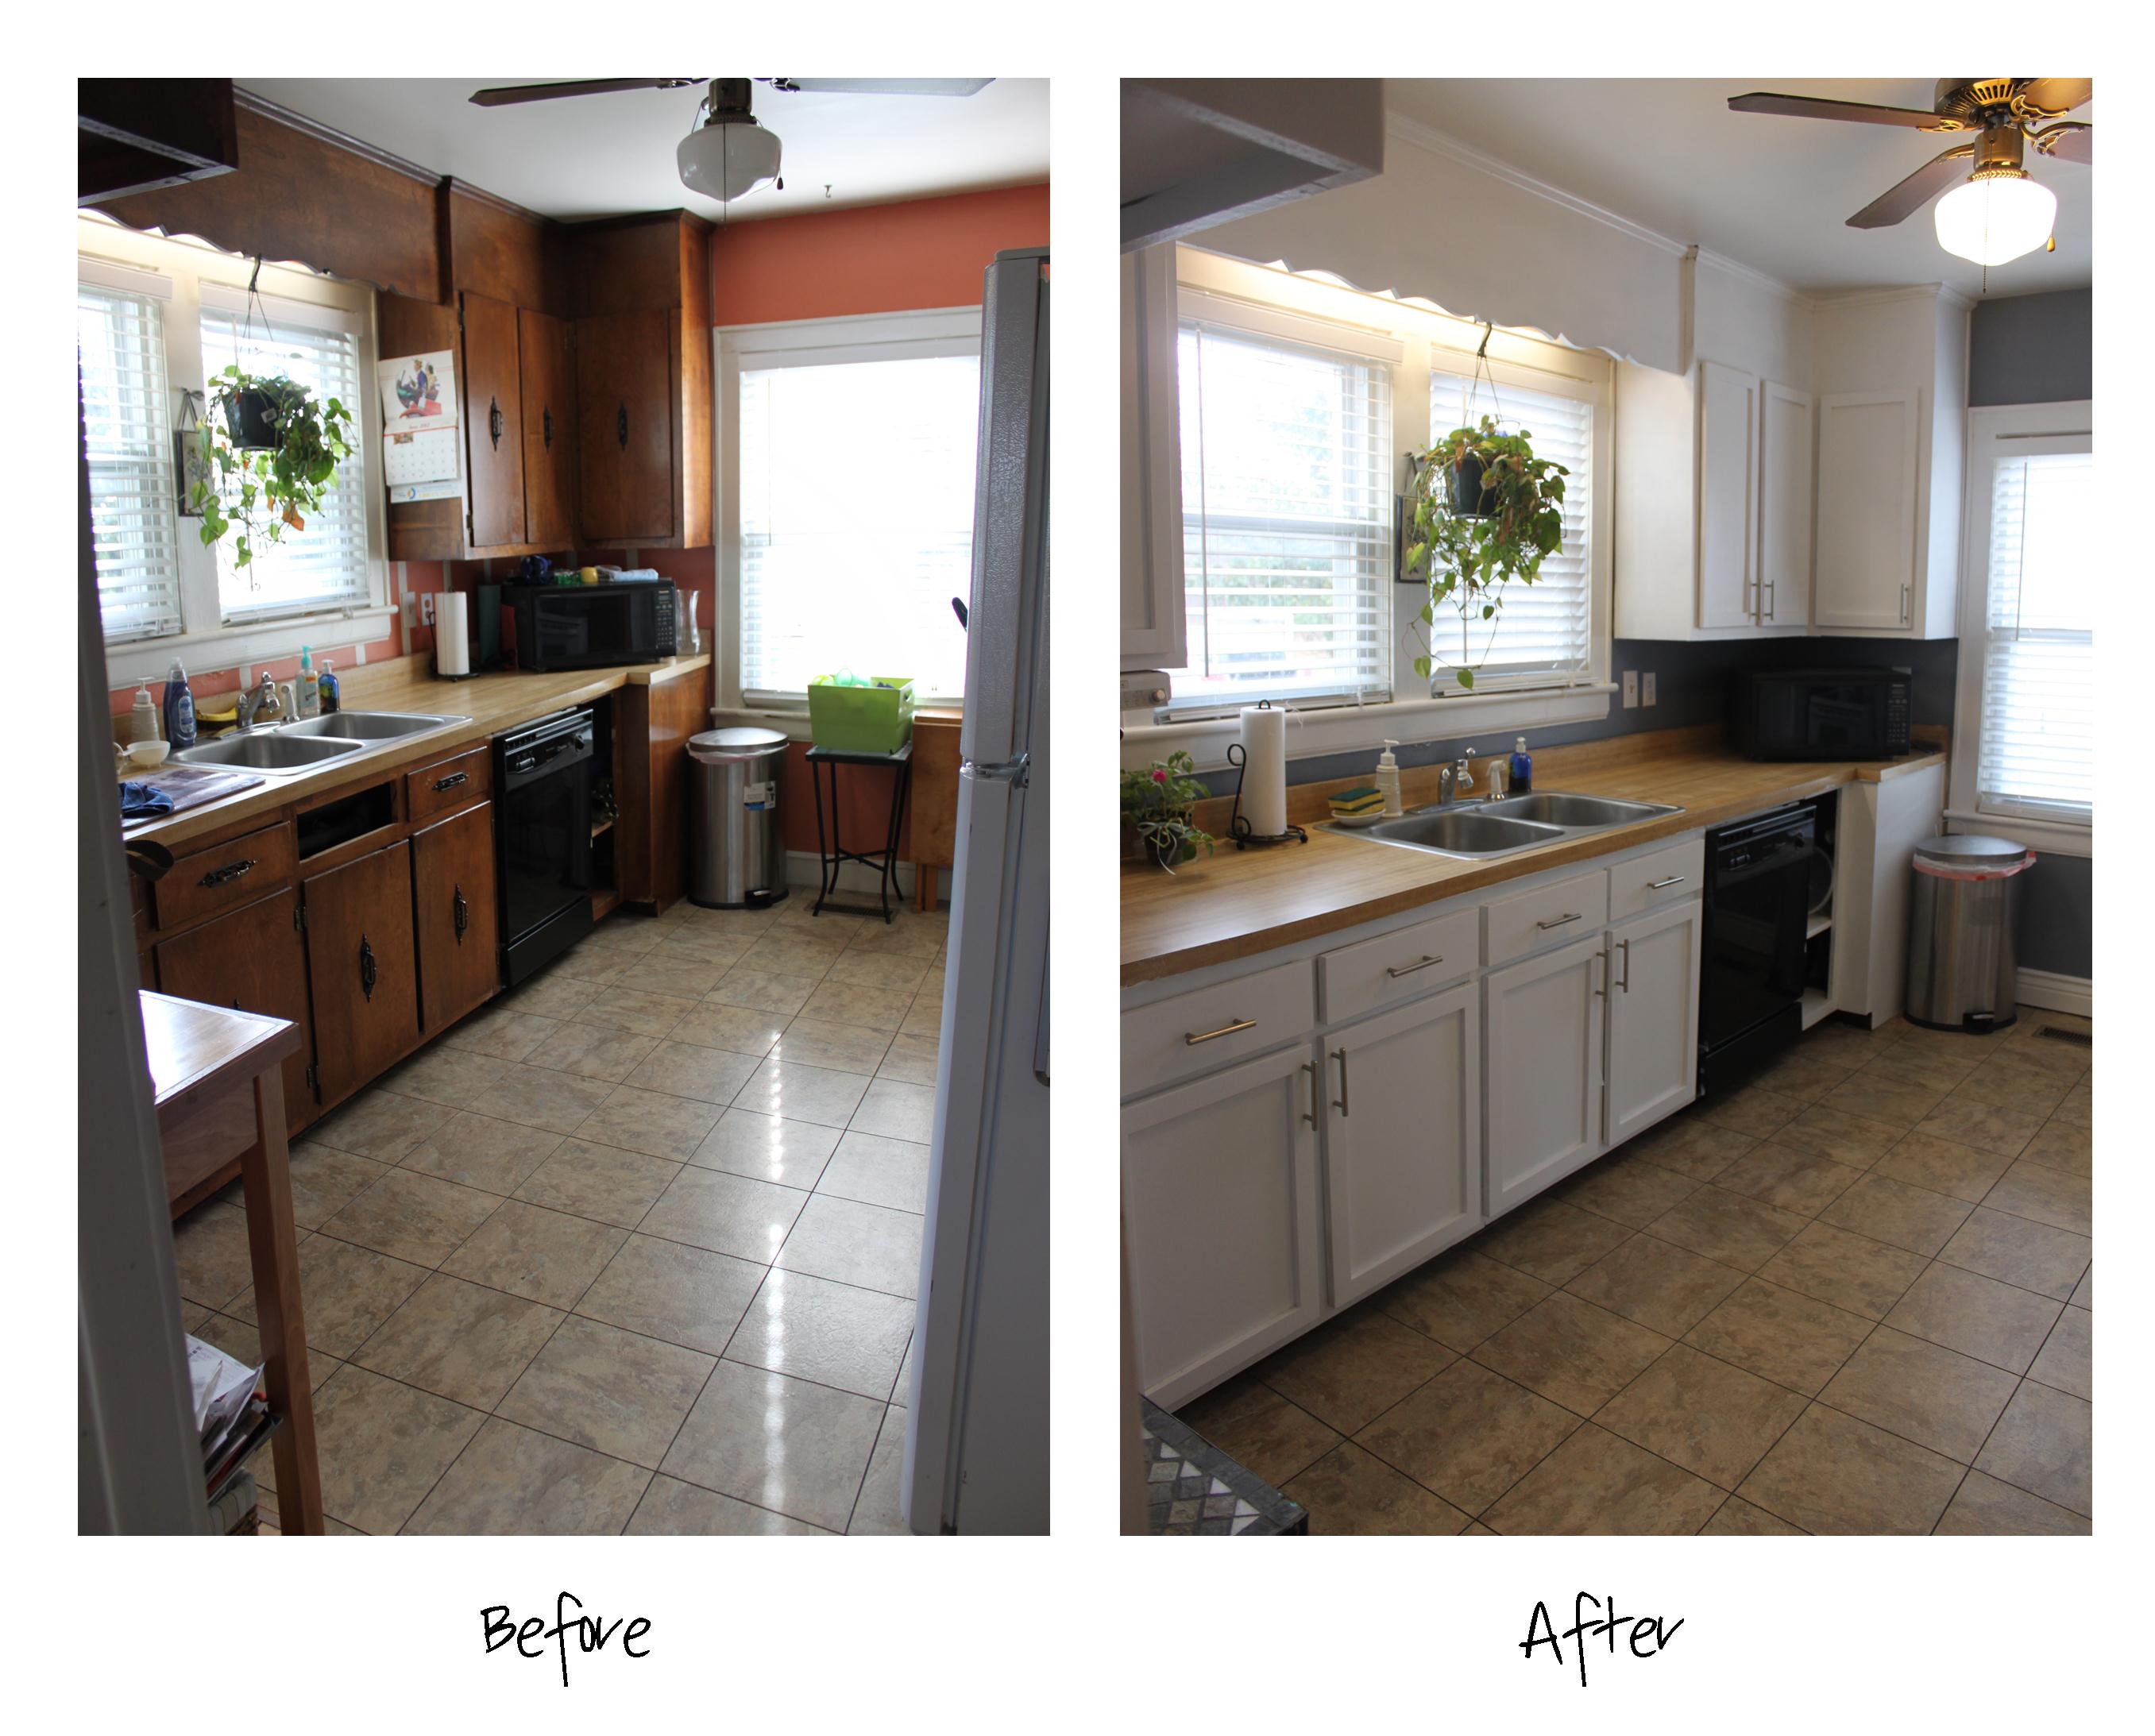
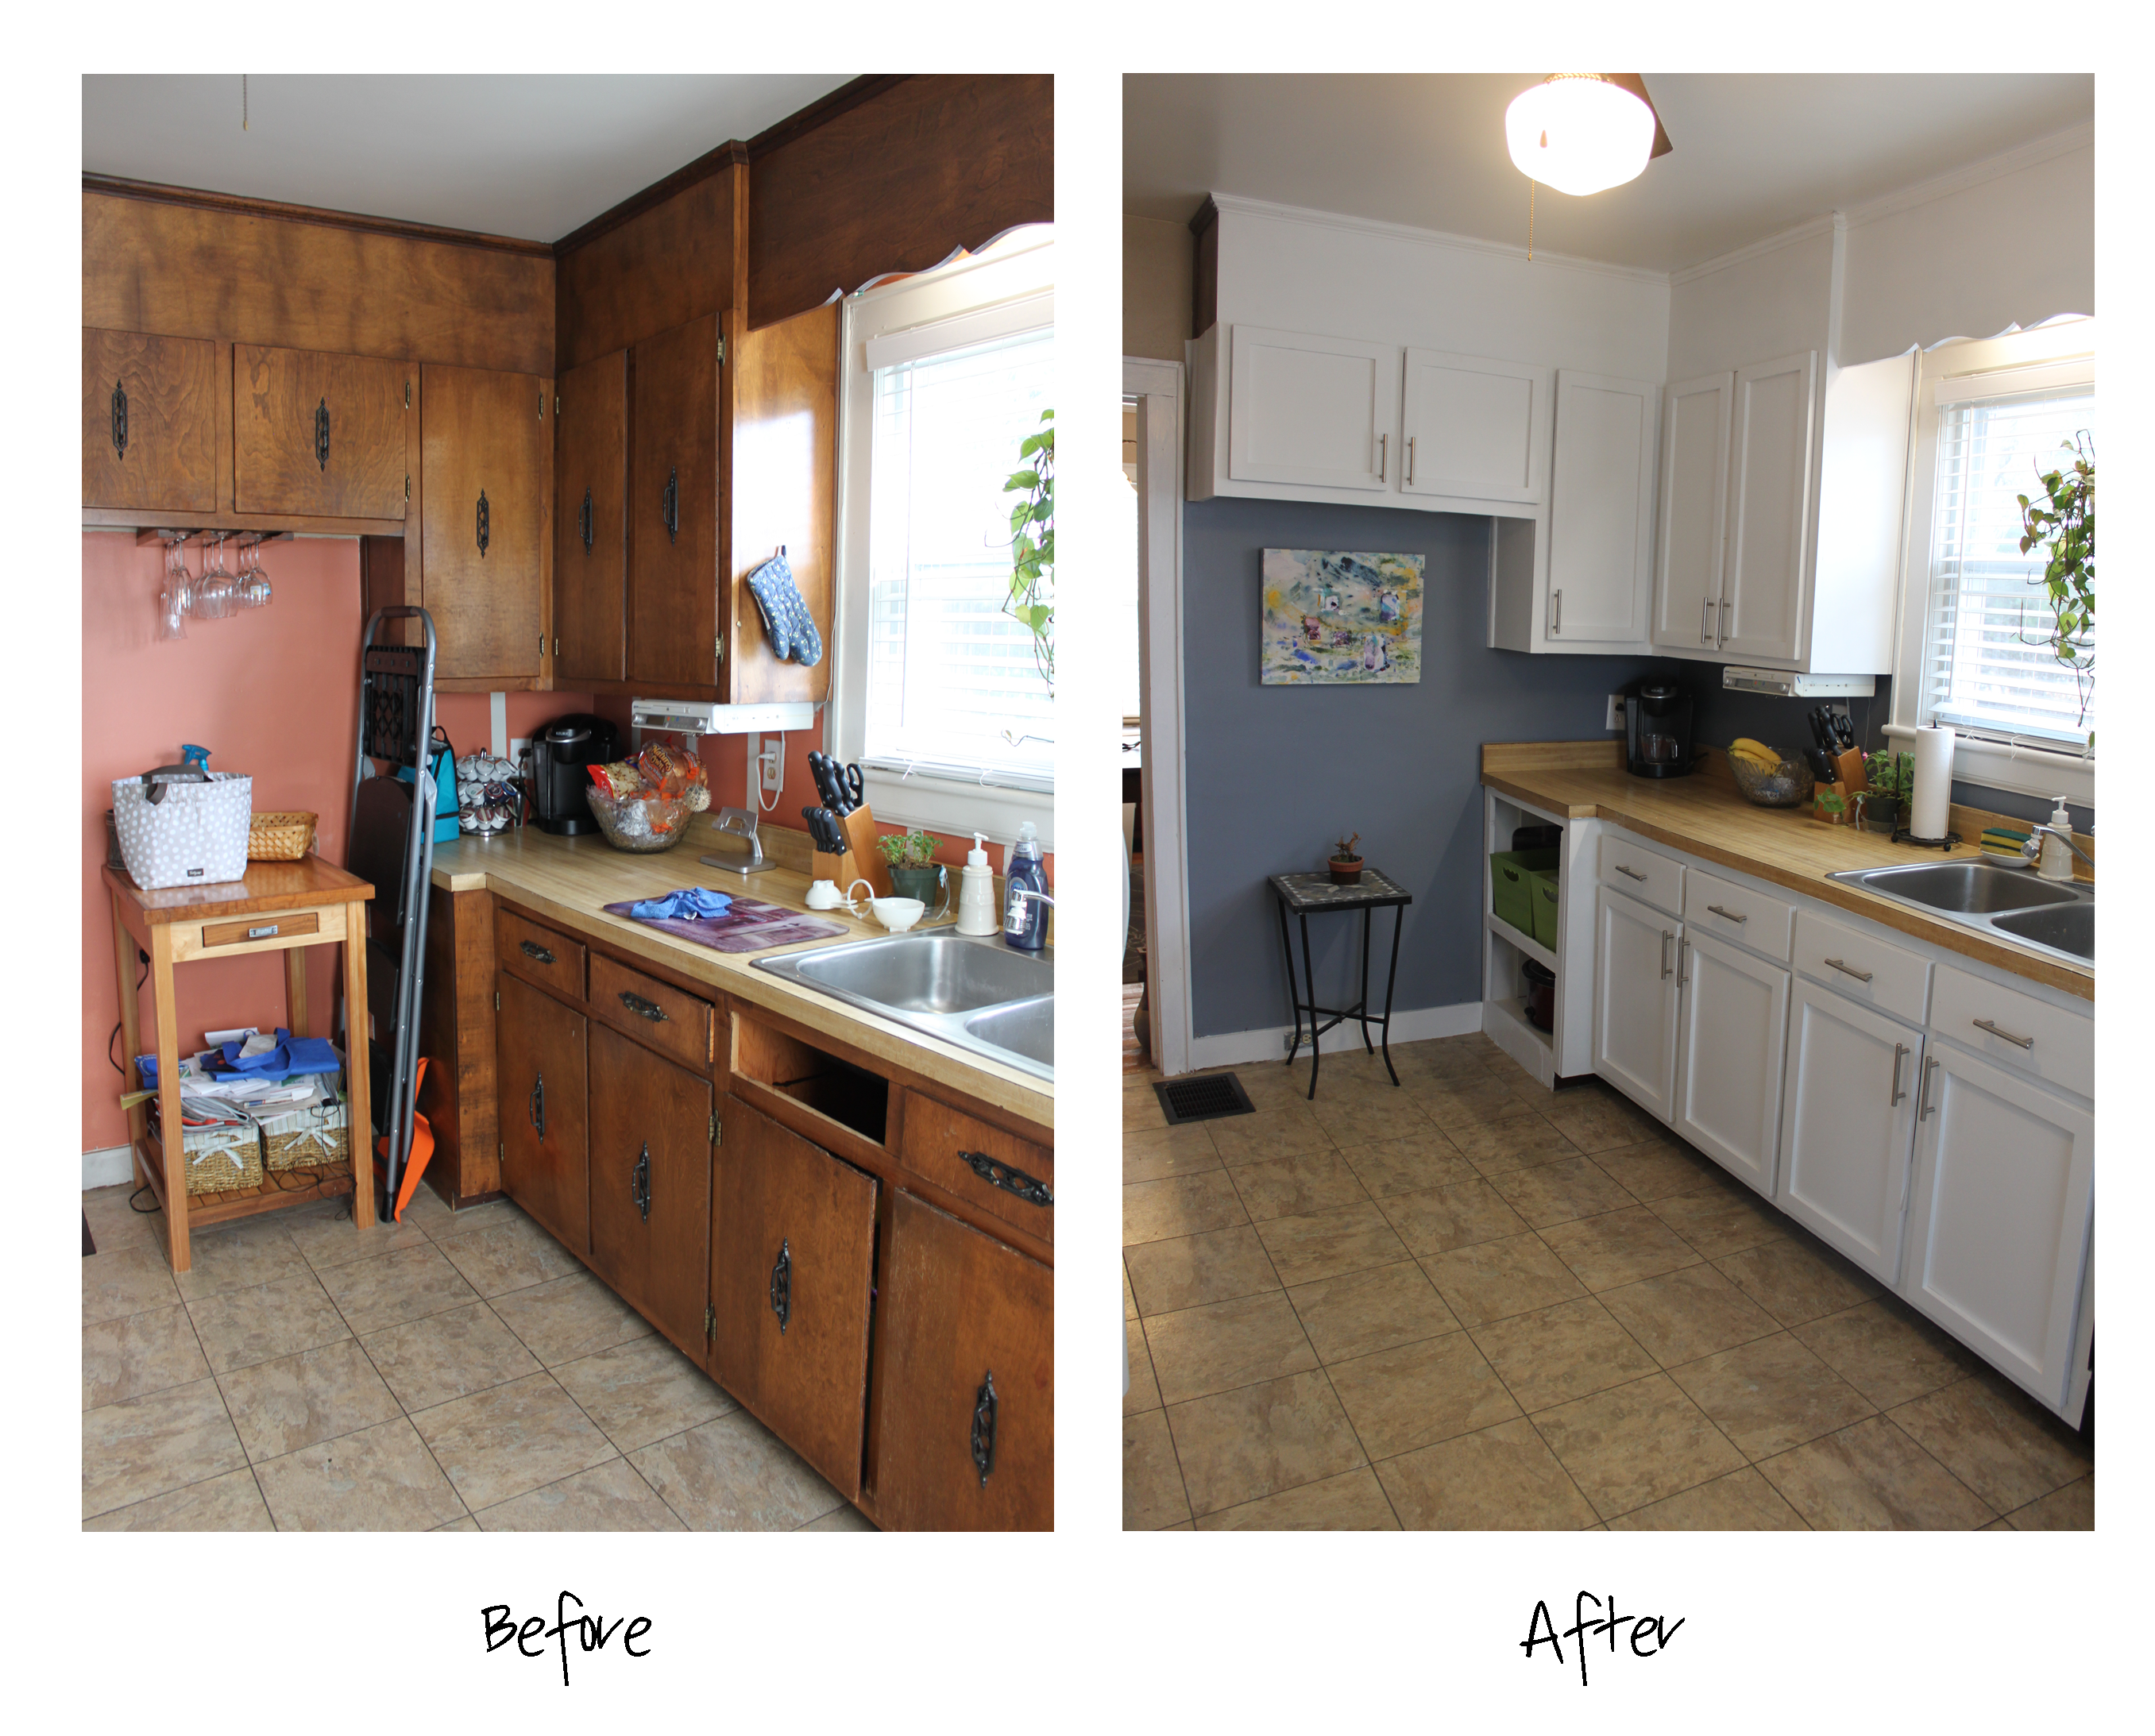 Wall color: Storm Cloud by Sherwin Williams


Friday, October 26, 2012
My Sister’s House (before and after)
A couple of weeks ago my girls and I took a little road trip to Michigan to visit my sister, Kelsey. She and her husband just moved there for medical residency and have loved it. I have never been there before and when our stay was over I told my husband that we needed to start looking for jobs there.
We had a great time!
While I was there I took some pictures of her cute house so today I wanted to feature them along with the paint colors she chose. If you have any questions feel free to comment below!




 Kitchen After:




We had a great time!
While I was there I took some pictures of her cute house so today I wanted to feature them along with the paint colors she chose. If you have any questions feel free to comment below!
Bathroom Before:

Bathroom After:

Paint Color: Pickling Spice by Pittsburgh Paint
The lighting above wasn’t the greatest, but the second picture shows the true color lots better.
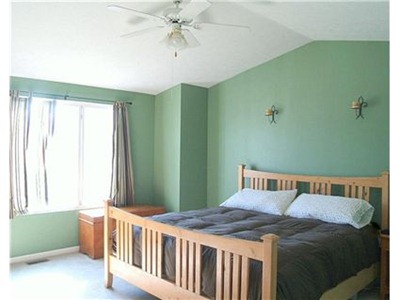
Master Bedroom Before:

Master Bedroom After:

Paint Color: Bleeker Beige by Benjamin Moore

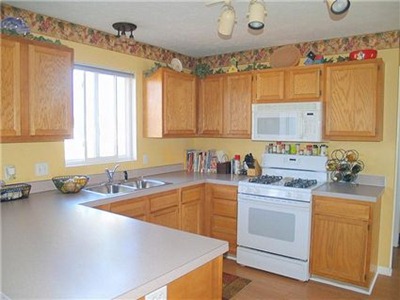
Kitchen Before:

 Kitchen After:
Paint Color: Rockport Gray by Benjamin Moore
Cabinets: White Dove by Benjamin Moore

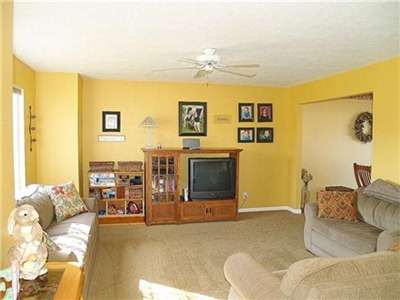
Living Room Before:


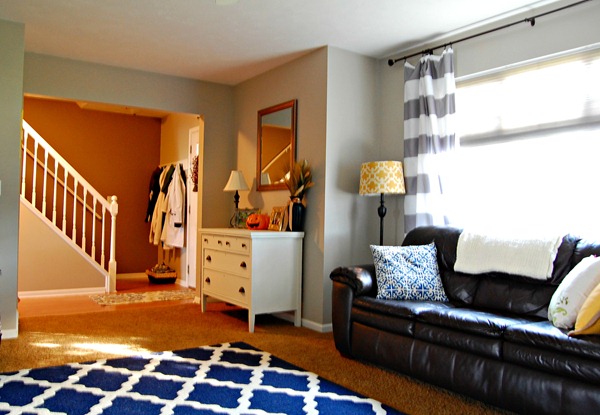
Living Room After:

Paint Color: Revere Pewter by Benjamin Moore


We love you Aunt Kelsey! Have a great weekend everyone!
Thursday, May 10, 2012
The Evolution of a Lamp
I love lamps. To me they make a house a “home” and are one of my favorite ways to accessorize a space. Today I wanted to show you a little makeover I did.
I bought this lamp a couple of years ago at Herberger’s when it was on clearance. They were 2 left, one had a crack on the bottom so the cashier gave me both for $30. I loved the base, didn’t love the shade, but couldn’t find anything in my price range that would replace it.

Then I was at Lowe’s before Christmas and I found these shades that had Christmas ribbon on them. (Sorry, I didn’t take a picture of the shade before but my sister posted about it here). I bought them because they were an awesome price (mine were $6 each) and I loved the shape. It looked too plain, though. 
So I bought some fabric and used this awesome tutorial by Janell Beals from Isabella & Max Rooms to recover it with fabric. This is how I did it, in a condensed version:

1. Buy your fabric. (I bought 1 1/2 yards for two lampshades and I had extra).
2. Lay it out on the floor, roll and trace your shade, leaving about 2” on each side.

3. Cut it out.

4. Iron until all wrinkles are out.

5. Wrap your fabric around the shade, and glue using liquid stitch. (Make sure you pull it tightly so there are no wrinkles.)
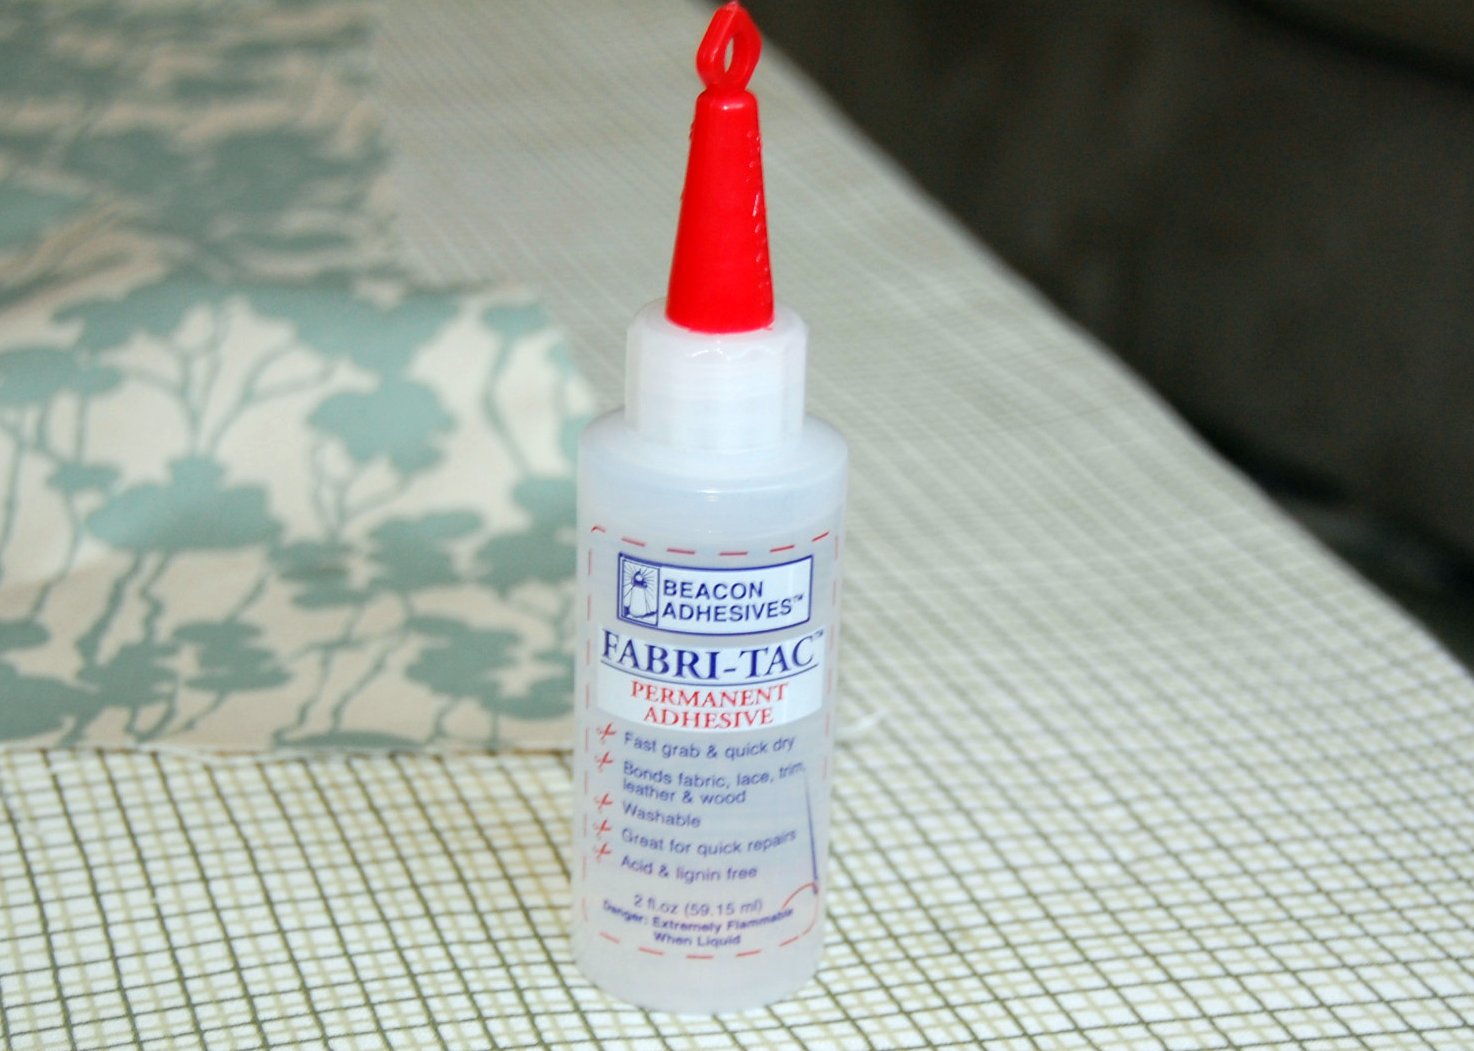
This stuff worked great.

Place the shade on your lamp and ta-da! So much better. But I have been debating one thing:
Would you paint the base?? I like the contrast of the black, but wonder if I should lighten it up a bit? What do you think? Do you have anything in your home that you are debating whether to paint or not?Ahh, decisions, decisions. :) Have a wonderful day!
Subscribe to:
Posts (Atom)